UPDATE: A lot has changed in Storybook land since this was written. If you are adding Storybook to your project, check out the tutorial on the Storybook site on how to use their CLI to get up and running with Storybook
Story what? permalink
Storybook is a great tool for developing and showcasing components. I love it so much, I did a talk about it at js-montreal last summer. Storybook forces you, a good thing, to develop your components as components because you’re not in the actual application. It supports React, React Native, Vue and Angular.
Get Storybook installed and running in your project permalink
We’ll assume you already have a React project created.
- If you have
npxinstalled, runnpx @storybook/cli. For more info aboutnpx, check out Introducing npx: an npm package runner – Kat Marchán – Medium. If you don’t havenpxinstalled, you’ll need to install the CLI globally vianpm install @storybook/cli -g. - Ensure you’re in the root of your front-end project.
- From the command line, run.
getstorybook. Because you have React installed as a dependency,getstorybookwill know to install the necessary packages for Storybook for React as dev dependencies.
"@storybook/addon-actions": "3.3.15",
"@storybook/addon-links": "3.3.15",
"@storybook/addons": "3.3.15",
"@storybook/react": "3.3.15",
- If you look in your
package.jsonfile, you’ll have two new scripts.
"storybook": "start-storybook -p 6006",
"build-storybook": "build-storybook"
- From the command line, run
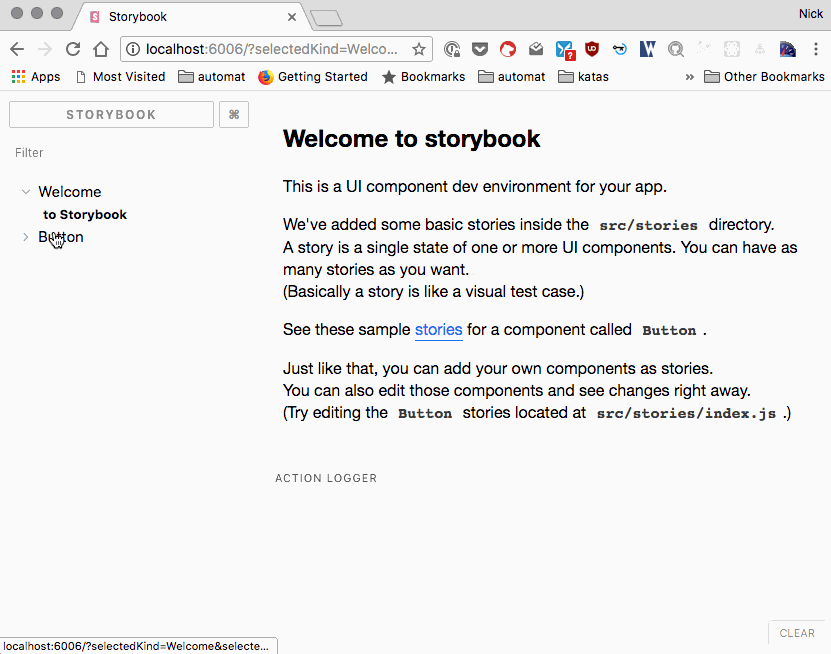
npm run storybook. - Navigate to
http://localhost:6006(or whichever port Storybook gives you in thestorybooknpm script. - Boom! You’re in Storybook land. Go pat yourself on the back.
- The other script,
build-storybook, if run, will generate a static Storybook site that you can deploy to wherever you like. By default, it will be generated into a folder calledstorybook-static.
Anatomy of a Story permalink
Now that you’ve got Storybook running in your project, you probably took a look at the out of the box stories that ship with it.
Let’s break down what’s going on in one of the sample stories.
// We need the storiesOf function to write our stories.
import { storiesOf } from '@storybook/react';

// A function that allows you to simulate an action.
import { action } from '@storybook/addon-actions';

// The React component that we want to use in our Storybook stories.
import { Button } from '@storybook/react/demo';

// Here Button is the component name that you will see in the collapsible component tree
// in the Storybook application.
storiesOf('Button', module)

  // A first story to show what the button looks like with text.
  // Notice the simulated action as well.
  .add('with text', () => <Button onClick={action('clicked')}>Hello Button</Button>)

  // A second story to show what the button looks like with emojis.
  .add('with some emoji', () => <Button onClick={action('clicked')}>😀 😎 👍 💯</Button>);
That’s pretty much all there is to writing stories. It’s really easy to use and such a great tool. In my next post, we’ll dig into some of the cool features of Storybook.
References permalink
- Storybook, loads of great documentation here.
- A great example from airbnb of Storybook.
- Slides from my talk I did last year, story.iamdeveloper.com